Top Video Editing Tips for the Creators of Science Videos
Science videos are usually brief films that describe science experiments, concepts, and interesting facts to people. When it comes to science, it is much easier to show a project than to explain it with words. A video becomes a wonderful tool to visually present to the audience the power of the big bang, the flow of a chemical reaction, or detailed information about wildlife.
It is surprising that the videos that look natural are often created with the inevitable help of sophisticated video editing techniques. This works with all kinds of videos, and science videos are not an exception. Although you can’t apply video editing instruments to alter the reality of what happens in a science video, you can utilize the actionable video editing tips to improve some technical points in it and make it more pleasant for people to watch.
Top Tips for Creating and Editing Science Videos
#1 Utilize the Right Editing Techniques
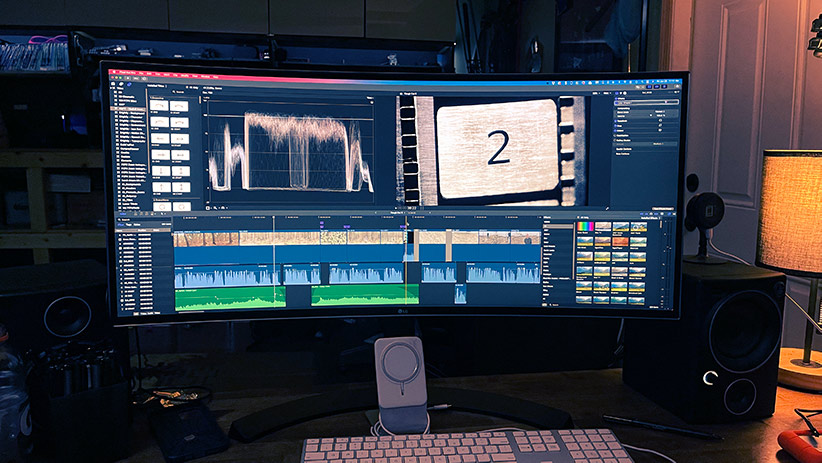
When editing your video, you can go beyond changing the order of your clips and removing unnecessary footage. Don’t restrict yourself when using video editing software to make your video look more aesthetic. Through creative editing, you can encourage a wider audience to get involved in the subject of your video by showing them a scientific story from an interesting edge.
Standard Shortcuts
Standard shortcuts are considered to be the easiest tool to edit video. A standard cut ties together the film where the final frame of one cut guides us to the first frame of the following one. This tool for joining footage can be used for introducing the technique or some key information in your scientific video.
Jump Cuts
Jump cuts push the action forward in time by cutting out some footage but not changing the sequence of the cuts. In usual videos, this technique is applied to skip some boring scenes or to keep the interest of your audience. In science videos, it helps when you need to present some process in a shorter time than it takes in normal conditions.
It is decisive that you set it in context so that the public can understand how much time the presented action takes.
Montage
A montage is a wonderful way to shrink the activity into a smaller time period. A montage includes jump cuts and is great to show the history of the invention or the development of the scientific study. For example, the montage can be implied to show the creating process of a new invention, like Alexander Graham Bell working on the telephone.
J and L Cuts
J and L cuts are a functional and appealing way to introduce audio and video content. A J cut arranges such a workflow when the picture changes while the original narration goes on. With an L cut, the audio changes when visual material stays the same from the very beginning.
This can be beneficial for use in a documentary, for instance, to present an interview with an inventor and change the visual to show some pictures and videos related to the topic of the conversation.
Cross-Dissolves
Cross-dissolves are one more valuable way of shortening time, and it is easy to comprehend for the audience. When you need to show the procedure that takes some longer time, for example, the growing process of the tree, cross-dissolves can easily move the audience in time through the experiment.
Cross-Cuts
Cross-cuts are used in most modern movies. Remember a movie where the main character is sleeping at home, and another person is in the car in the center of New York going to see his friend at his home. Such scenes showing several actions happening at the same time are created with the help of cross-cuts.
How do we use this in science films? Imagine that there is a tiger on one side and a tiger on another side, and you have to show them both in detail in your movie. This is a hint of how you can use this movie editing tool in your science clip.
Match Cuts
Match cuts are an interesting video editing technique. It is highly popular in the modern film industry. This tool represents cutting together a couple of similar objects which are visually alike. For example, after showing footage of a spark appears the video of a burning flame. This technique can make your science video look exceptional and unforgettable to the viewer.
#2 Add Captions and Make Science Approachable
The main rule for creating videos is to make them understandable for your audience. This is especially important for science videos.
Science videos may include terms that can be difficult for understanding to the viewers who hear them for the first time in their lives. By adding captions, you make science videos accessible not only to people who suffer from hearing difficulties but the elaborate language used in science and various technical fields becomes easier for a mass viewer. People are more likely to memorize what is written on the screen when in the video you are simultaneously talking about the same matter.
You can add captions with any free video editing tool such as Animoto, Videosoftdev, or Magisto.
#3 Pick a Relevant Audio for your Video
Choosing the right audio is crucial for delivering your message. An audio style decides what your story style is going to be like:
- Voice-over uses the voice, which is not a part of the narrative, also known as first-person narration.
- The interview production technique introduces the talk facing the camera.
- Journalistic style presentation involves the reporter delivering his speech “live” in front of the camera while the experiment is in progress.
#4 Introduce Your Video to the Public
Youtube is full of science channels aiming at presenting the brightest examples of the natural world and is a perfect source for curious learners who are eager to see science functioning. On Youtube, you can watch all the videos online. Science videos can become popular among teachers who are preparing for a class, students who are learning for their finals, and just inquisitive people who want to discover something new for themselves.
You can also burn video to a DVD, a CD, or another recordable disk. Here you can find more details on how to burn a DVD. This way, you will always have the recorded video on your disk.
Conclusion
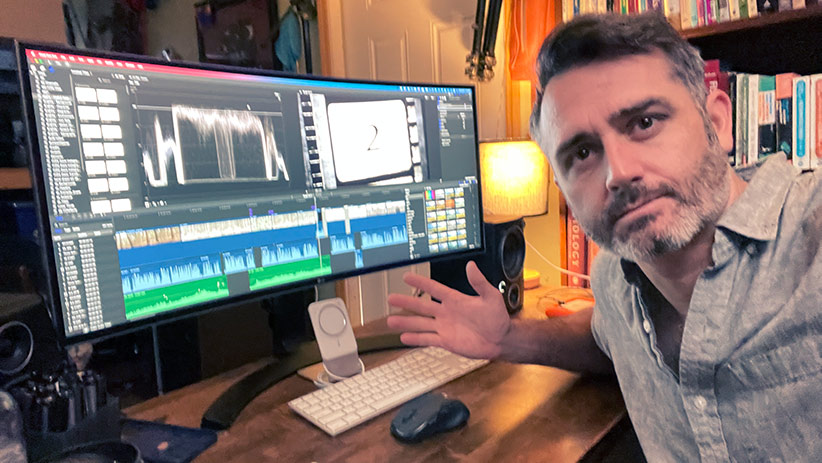
Video editing is critical for science videos as it makes the movie flow smoothly as well as look natural to the viewer. Video editing can help the audience greatly with understanding difficult science terms and gives a chance that elaborate educational topics will appeal to a wider range of people.


