How to Create Digital Science Mind Maps
When you need to explore a certain idea or plan, mind mapping helps create a visual representation of all the steps we need to take or related subjects we need to analyze in order to achieve our goal. Physical mind maps that we draw on paper and hang on our walls get messy and it gets difficult to keep track of all the elements, which is why we’re going through a quick walkthrough that should let you in on how to create a digital mind map for a scientific project using digital tools that you have at your disposal.
Here is everything you should know about creating a digital science mind map.
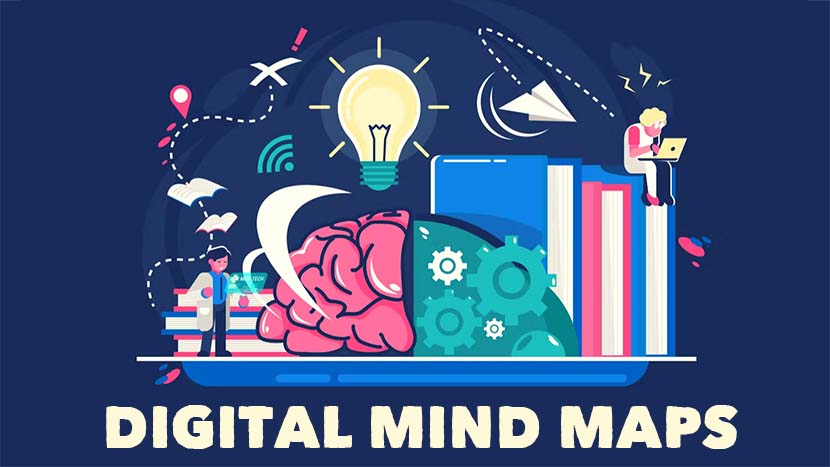
Choose your working environment
The best thing about digital mind maps is that you don’t have to move your furniture around to expand your diagram. There are numerous software solutions that you can use to create mind maps, it all depends on what you’re into. PowerPoint is a neat tool to use if you’re accustomed to Office, however, some people prefer specialized mind mapping software that offers some more advanced features.
The main thing is that you should be comfortable with using the software and that it allows you to seamlessly edit and add new content. Clearly, visibility and navigation through the mind map should also be a deciding factor in your selection of software. Also, keep in mind that there are a lot of mobile apps that allow you to create mind maps, which is amazing because it allows you access to your mind map on the go, no matter where you are. Having constant access to mind mapping tools prevents the chance of forgetting an important piece of information.
Placing the elements
After you’ve checked all of the available mind mapping software and decided which one you’re going with, it’s time to start mapping out those blinking dots in your head. Start by placing your main idea at the center so you could create branches that would help you unravel the cloth and organize your thought process.
Let’s say you’re a botany student and you are learning about a certain plant hybrid; this is your main idea. When you place your idea at the center of the canvas it could branch out in all of the main associations you can attribute to your plants, such as genealogy or morphology and these are the first-level associations. From there, you can create a new set of branches that would lead to elements related to each “first-level association” and so on. The goal here is to start a brainstorming session and give your brain an organized structure that’s easy to follow.
What can you use to create a mind map?
Depending on your needs, a mind map could include different sorts of content as long as it helps you achieve your goal. You can use text boxes for concepts on how to deal with a certain issue or complete a complex task. Mind maps can also include multimedia content such as videos or animations that show how a certain process works.
Using the color schemes
You can use colors to differentiate ideas and concepts, so your brain has an easier time memorizing them. Let’s remember that mind maps essentially help us remember things easier so we should use every tool we have to make this process as easier as possible.
Use keywords as often as possible
When we wish to represent an association it’s best to use keywords that would immediately suggest a more complex expression. For instance, write “lab accident” to associate it with all the safety measures you need to take before you perform a certain experiment. Ideally, keywords should be one word, but when two or more are your best option just go for it.

Conclusion
The essence of mind mapping is to establish an order inside your head so your brain could connect all the elements and help you memorize a complex idea or keep a science project on the run. The main idea is to keep things as simple as possible, use colors and objects to categorize ideas, and use a software solution that fits your needs. We hope this article helped you understand how mind mapping works and that you’ll put this knowledge to good use.


