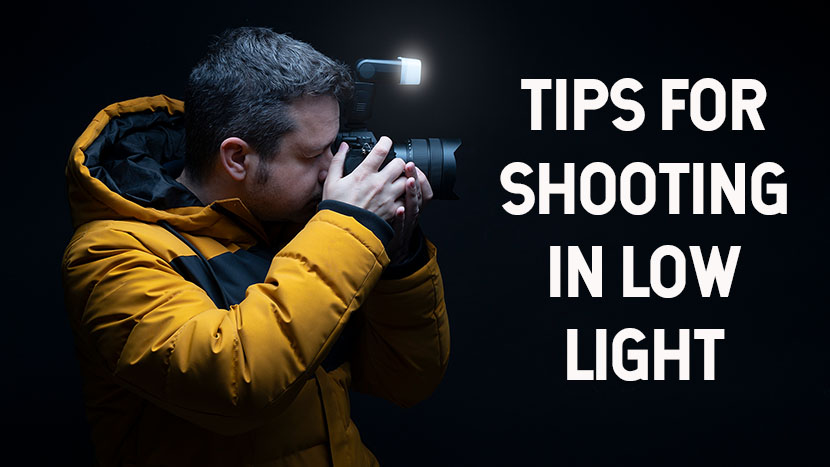
Simply Explained: 7 Tips for Shooting in Low Light
If you are a photographer, whether amateur or professional, you have surely encountered this problem: your photos are too dark because there is not enough ambient light. This is not handy during the holidays when you might want to make atmospheric images or you are struggling to capture emotion in a low lit live dealer game at non GamStop casino club. Now how do you solve this easily? We give you many tips to take beautiful photos in low light!
Adjust Your Exposure Triangle
The easiest way to solve the low light problem is to adjust your exposure triangle. The exposure triangle consists of three factors, namely shutter speed, aperture and ISO value. These three elements are all dependent on each other, if you adjust one, another element will also have to be adjusted. One of the first things you can do when your photos are too dark is to crank up your ISO. The only disadvantage with a high ISO value is; the higher the ISO value, the higher the amount of noise in your image. Try to push the limits of your camera to the point where you still find the amount of noise acceptable. It differs per camera how much noise can be seen. By zooming in on the photo you have taken, you can often quickly see how much noise your photo contains. If you shoot with a crop camera then you can often shoot well with an ISO value of up to 800. With a full-frame camera, these values are somewhat higher; you can then often shoot with values of 1250 to 1600 without the photo containing disturbing noise. So try out what works best for your camera; it’s not a bad thing at all if your photo contains some noise. Better a well-exposed photo with noise than a poorly-exposed photo with little noise, with the risk that you can no longer use it.
Would you rather not raise your ISO value? Then it might be an option to use a slower shutter speed. When you use a slower shutter speed, you give the camera, as it were, a longer time to let light in, so that your photo will eventually become lighter. The slower the shutter speed, the more light can hit your camera’s sensor. Shooting by hand with a slow shutter speed is often a bit difficult, but certainly not impossible. Most people can shoot hand-held at a shutter speed of 1/50 second; it just depends on whether you have a steady hand or not. By using a slower shutter speed, the ISO value can be kept somewhat lower and your photos will still be well exposed. Finding a good balance between the right shutter speed and the right ISO value is therefore important.
The last element that plays a role in the exposure triangle is the aperture of your camera. A low aperture number ensures a large aperture opening. This allows more light to reach the sensor, making your photos lighter. When shooting in low light, it is recommended to use a bright lens. With a bright lens, you can work with lower apertures of, for example, f/2.8 or even lower. A 50mm f/1.8 or a 35mm f/1.8 or f.1.4 are very suitable lenses to use for this. The only downside to using a wide aperture is that you get a shallow depth of field. This means that less of the environment will be in focus in the photo. This is not a problem with a portrait photo, but when you want to take an environment photo, this may not always be useful. A good tip for the right exposure in your photo is to use the A mode or AV mode. In this mode you maintain control over the aperture and your camera automatically applies the correct shutter speed and ISO value for good lighting.
Use a Tripod
One of the most important tips when shooting in low light is to use a tripod. Putting your camera on a tripod allows you to work with a slower shutter speed and a lower ISO value. This prevents a lot of noise from appearing in your photo or motion blur from occurring due to the slow shutter speed. Shooting by hand with a slow shutter speed is often very difficult, which is why a tripod is recommended.
To prevent motion blur as much as possible with a slow shutter speed, it is smart to use a cable release or a remote control that allows you to take a picture without touching your camera. Don’t have these? Then put your camera on the self-timer. This works just as well, but taking the photo takes a little longer. By exposing your camera to vibrations as little as possible, there will be little or no motion blur in your image. Do you still want to remain flexible, but do you want to use a slow shutter speed? Then use a monopod. This is a one-legged tripod, which allows you to still take sharp photos with slower shutter speeds.
EXTRA TIP: Don’t forget your image stabilization off when shooting from a tripod. The image stabilization on your camera corrects light vibrations when you shoot handheld. If your camera is on a tripod, your lens will still try to correct the image, which is not necessary now. This can eventually lead to blurry photos, which you want to avoid.
Use a Flash
Do you not yet have full control of the exposure triangle or are you still short of light? A flash can easily fix the problem. A flash adds enough light to your photo, but in some cases, the flash can take the atmosphere out of the photo because the light can be very ‘hard’. Most cameras have a built-in flash, but unfortunately, the usefulness of this flash is quite limited. This is because the flash sits just above the lens and fires straight ahead. This often results in a flat, brightly lit photo with harsh shadows and red eyes. Even if your subject is a bit further away from you, this flash is often not powerful enough to expose everything properly. With a flash unit, you often have many more options. This is an external flash that is often a bit higher on your camera. With this type of flash it is often possible to determine for yourself which way you aim the flash; flash against the wall or ceiling, for example. In this way, the flashlight is distributed much better – making the light a bit softer – and you will therefore be less likely to suffer from hard shadows or red eyes.

All in all, practice makes perfect. The more you play with your camera settings, the better you will get at shooting in all kinds of light. Follow these tips and you will see better results for shooting photos in low light!


