The Audio Setting Beginners Overlook That Ruins Outdoor Documentary Interviews
Most beginner documentary shooters usually obsess over cameras, lenses, and lighting diagrams. Then they return from the field, open their footage, and discover that the sound is a muddy wash of wind, traffic, and crackling peaks that no amount of editing can rescue. The culprit is almost never the microphone itself. It is a single overlooked parameter buried in the recorder menu, and once you understand it, your outdoor interviews start sounding like proper broadcast work.
Why Gain Staging Is the Setting Everyone Misses
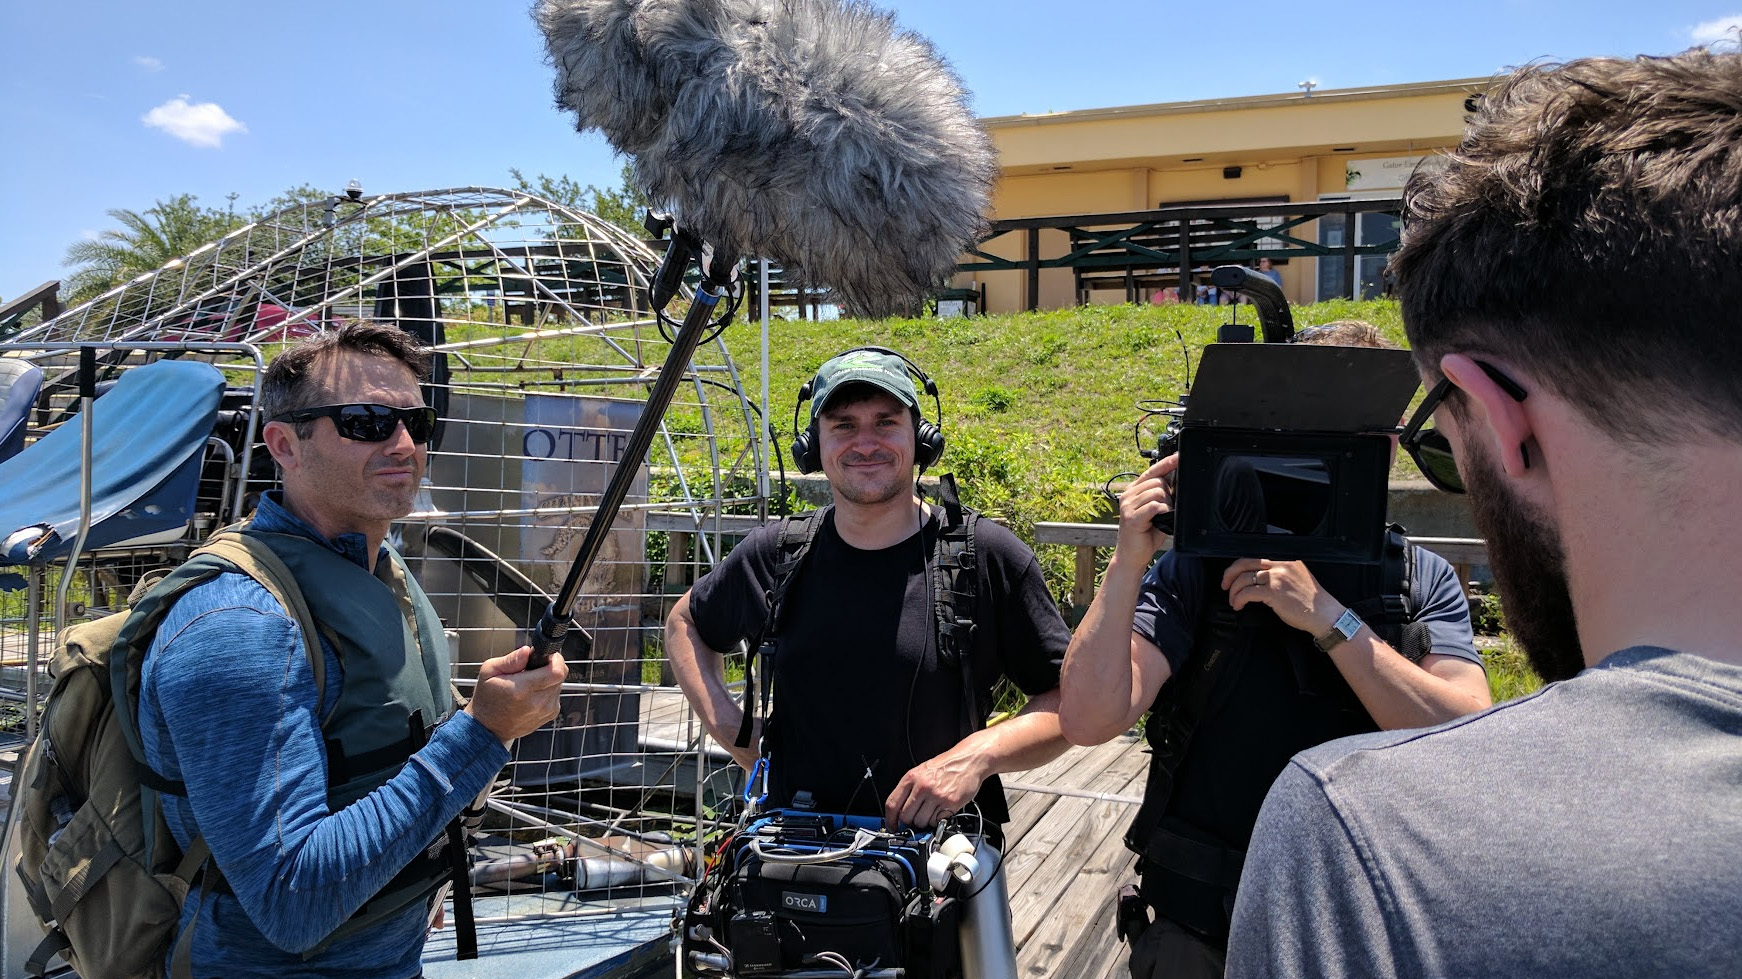
Gain controls how much a microphone signal is amplified before recording. Outdoors, changing acoustic conditions make fixed settings unreliable. Whether filming trekking documentaries or interviews with mail-order Thai brides sharing their migration stories, filmmakers must adjust gain carefully to capture clear audio. Poor settings can ruin an otherwise compelling interview.
Setting Levels Too Hot
The most common mistake is driving the input so high that peaks slam into zero dBFS. Digital audio has a brick wall ceiling. Once a waveform clips, the information above the ceiling is gone forever. On an outdoor shoot, a sudden laugh, a passing motorcycle, or a gust against the windshield can spike ten decibels above conversational speech in a single frame. If your average dialogue sits at minus six, those spikes will clip and leave a harsh digital crackle that no plugin removes cleanly.
Setting Levels Too Timid
Overcorrecting creates the opposite problem. Beginners who have been burned by clipping often pull the gain so low that dialogue hovers around minus thirty. The recording looks safe on the meter, but when the editor raises it to broadcast loudness in post, the noise floor rises with it. Wind rumble, preamp hiss, and distant traffic all become equal partners with the voice.
Finding the Working Window
The practical target for outdoor interviews is an average speech level between minus eighteen and minus twelve dBFS, with transient peaks never exceeding minus six. That window gives roughly twelve decibels of safety above normal speech and keeps the signal well above the electronic noise floor of modern recorders. Ask the subject a warm-up question, watch two full sentences of meter movement, and adjust before the real interview begins.
The Field Habits That Protect Your Audio
Technical knowledge only helps if it becomes muscle memory on location:
- Record a thirty-second room tone pass at the final gain setting so the editor has matching ambience to smooth cuts.
- Have the subject count from one to ten at normal volume, then speak their loudest expected line.
- Monitor through closed-back headphones, not earbuds, so you hear the actual signal rather than the environment.
- Lock the gain knob with a small piece of camera tape once you have set it, so nothing drifts during a long sit down.
- Check meters again after any location change, even a move of ten meters toward a river or roadway.
These five steps take under three minutes and prevent almost every post-production disaster that stems from input levels.
How Different Microphones Respond to Gain Choices
Not every microphone wants the same input setting, and understanding the differences helps you predict problems before they appear in the waveform. Condenser shotguns, dynamic reporter mics, and tiny lavaliers each have their own sensitivity curves and self noise figures.
| Microphone Type | Typical Sensitivity | Suggested Starting Gain | Main Outdoor Risk |
|---|---|---|---|
| Condenser shotgun | High | Low to medium | Clipping on wind gusts and transients |
| Dynamic handheld | Low | Medium to high | Noisy preamp hiss when pushed |
| Lavalier condenser | Medium | Medium | Clothing rustle amplified at high gain |
| Stereo ambience pair | High | Low | Peaks from sudden environmental sound |
Reading this table in advance saves a surprising amount of field time. If you know a shotgun will peak hard on a windy ridge, you arrive with a proper blimp and dead cat, not a foam cover borrowed from a lavalier kit.
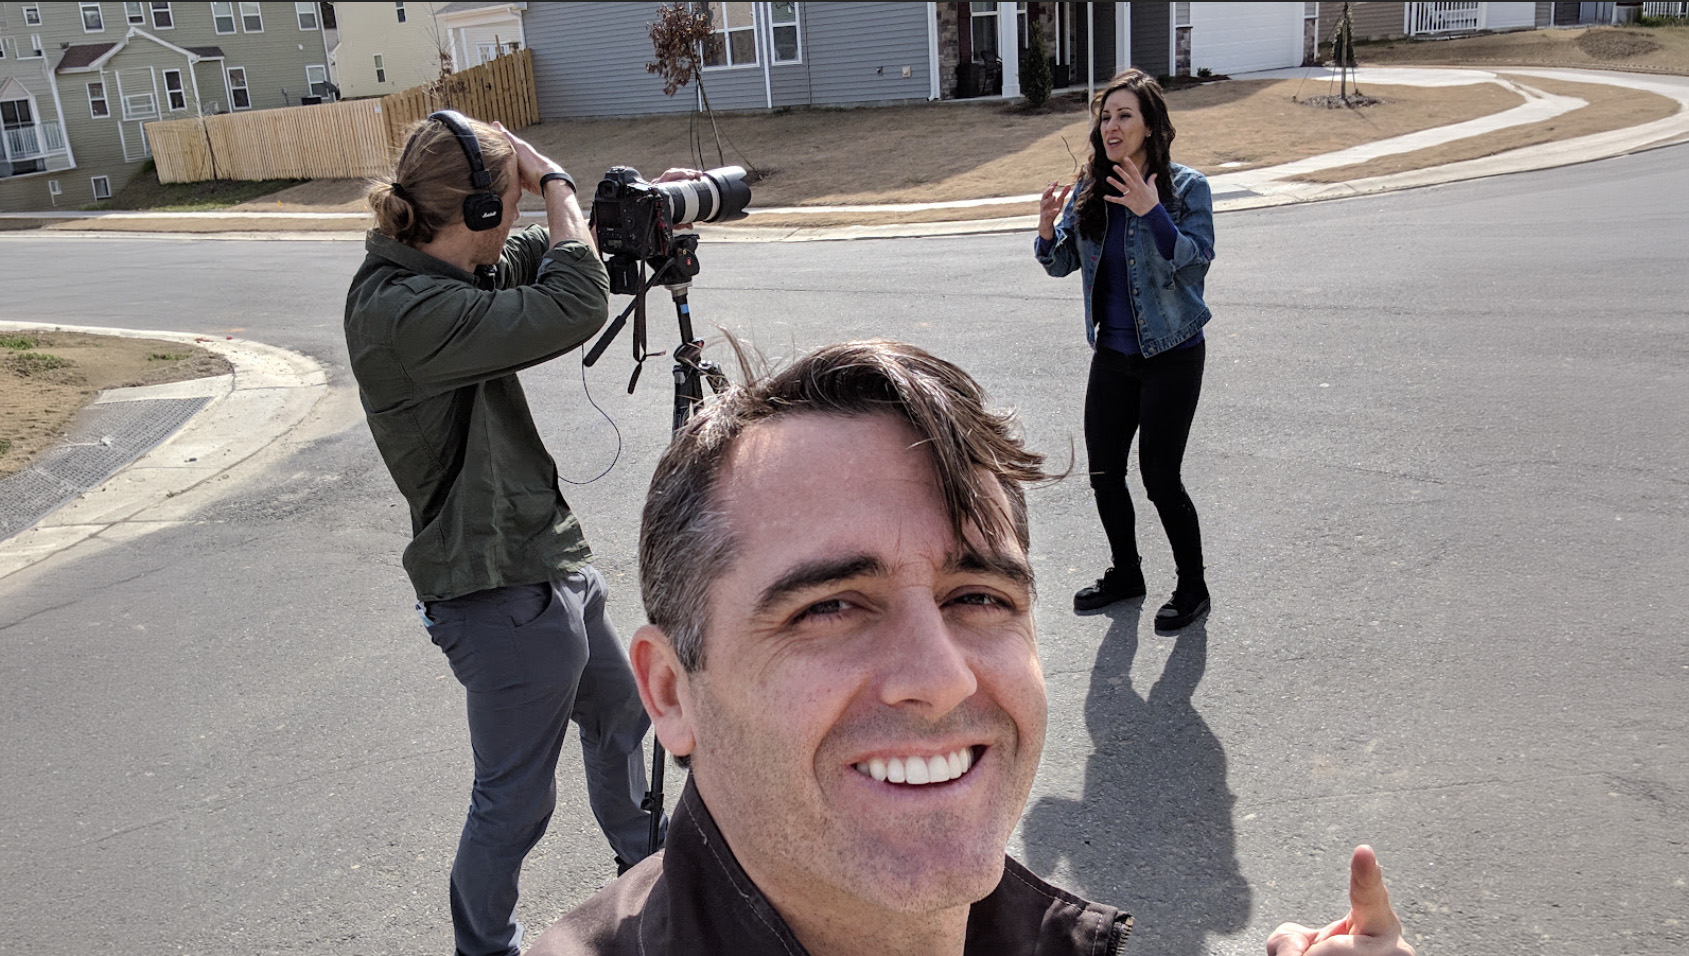
A Short Pre-Roll Checklist for Every Outdoor Interview
Before you press record on the next interview, run through this compact sequence. It takes less than five minutes and separates footage that cuts smoothly from footage that fights you for weeks in the edit:
- Choose a sheltered angle relative to prevailing wind, even if the visual composition takes a small compromise.
- Fit the correct windshield for your microphone and confirm it is fully seated.
- Set initial gain by ear using a counted test phrase from the subject.
- Confirm peaks stay below minus six during the loudest likely response.
- Capture thirty seconds of room tone with the subject silent and still.
- Lock the gain, start the camera, and keep eyes on the meters during the first minute.
Audio is the one department where small, unglamorous settings decide whether a documentary feels professional. Gain staging is not a mysterious craft reserved for mixers in television trucks. It is a two-minute discipline that any beginner can master, and once you do, outdoor interviews stop being a gamble and start sounding like the stories you traveled so far to capture.