Visual Storytelling For Field Scientists
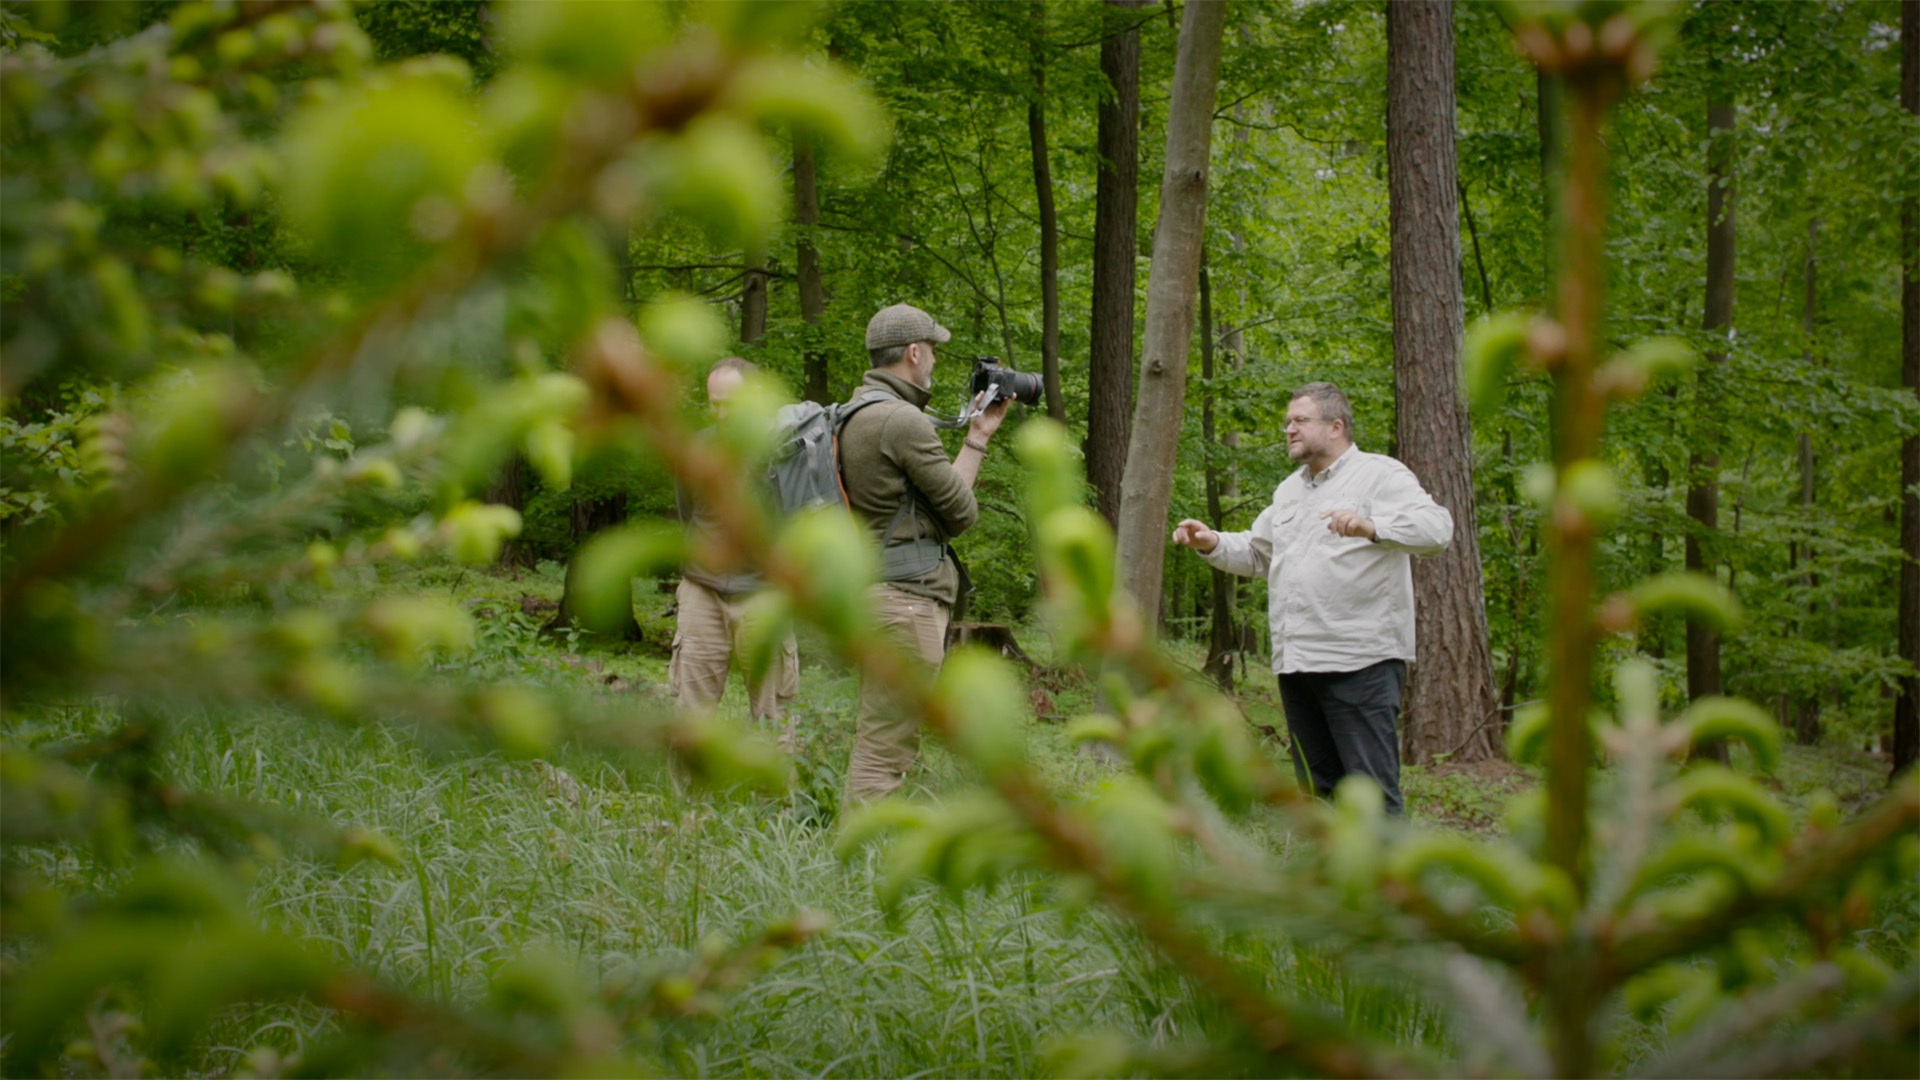
Fieldwork produces the kinds of moments that photographs and video can turn into insight. You want footage that clarifies a method, conveys surprise, and invites viewers into the scene without oversimplifying the science. That means thinking like a storyteller before you hit record.
Packing decisions matter. Alongside notebooks and sampling kits, you might bring a compact action camera for hands-free footage while you focus on the experiment. The rest of this guide helps you plan shoots that respect scientific rigor and make your work accessible to broader audiences.
Start With A Narrative Frame
Every good visual piece begins with a question. What discovery are you illuminating? What mystery or problem motivates the fieldwork? Use that question to choose the opening and the close of your piece.
- Identify the scene where the question is obvious. Show the environment, not only the instrument. A camera pointed at a measuring device is less compelling than the researcher placing that device into a distinct habitat.
- Think of the story arc in simple beats. Context, process, result, and reflection works well in short educational pieces. These beats help you collect the right shots rather than random footage.
- Keep the audience in mind. If they are peers, prioritize methodological clarity. If they are the public, emphasize significance and wonder alongside accuracy.
When you plan scenes, list the information needed to tell the story visually. That list becomes your shot list and keeps the shoot focused.
Compose For Context, Not Just Closeups
Closeups of fine detail are essential in many disciplines, but they are not enough on their own. You need visual context so viewers understand scale, setting, and the human element.
- Start each segment with a wide establishing shot to orient the viewer. This helps signal where the closeups belong in the landscape.
- Capture mid shots that include hands, tools, or equipment in operation. These shots bridge the wide context and the close detail, showing human interaction with the subject.
- Mix perspectives. Low angles can emphasize scale, while top-down views reveal patterning. Variety keeps visual interest and aids comprehension.
- Record the ambient environment. Sounds like wind, water, or bird calls provide sensory cues when used carefully in editing.
Composing for context also helps when you later annotate footage. A single frame that shows both the instrument and the surrounding habitat becomes a powerful reference.
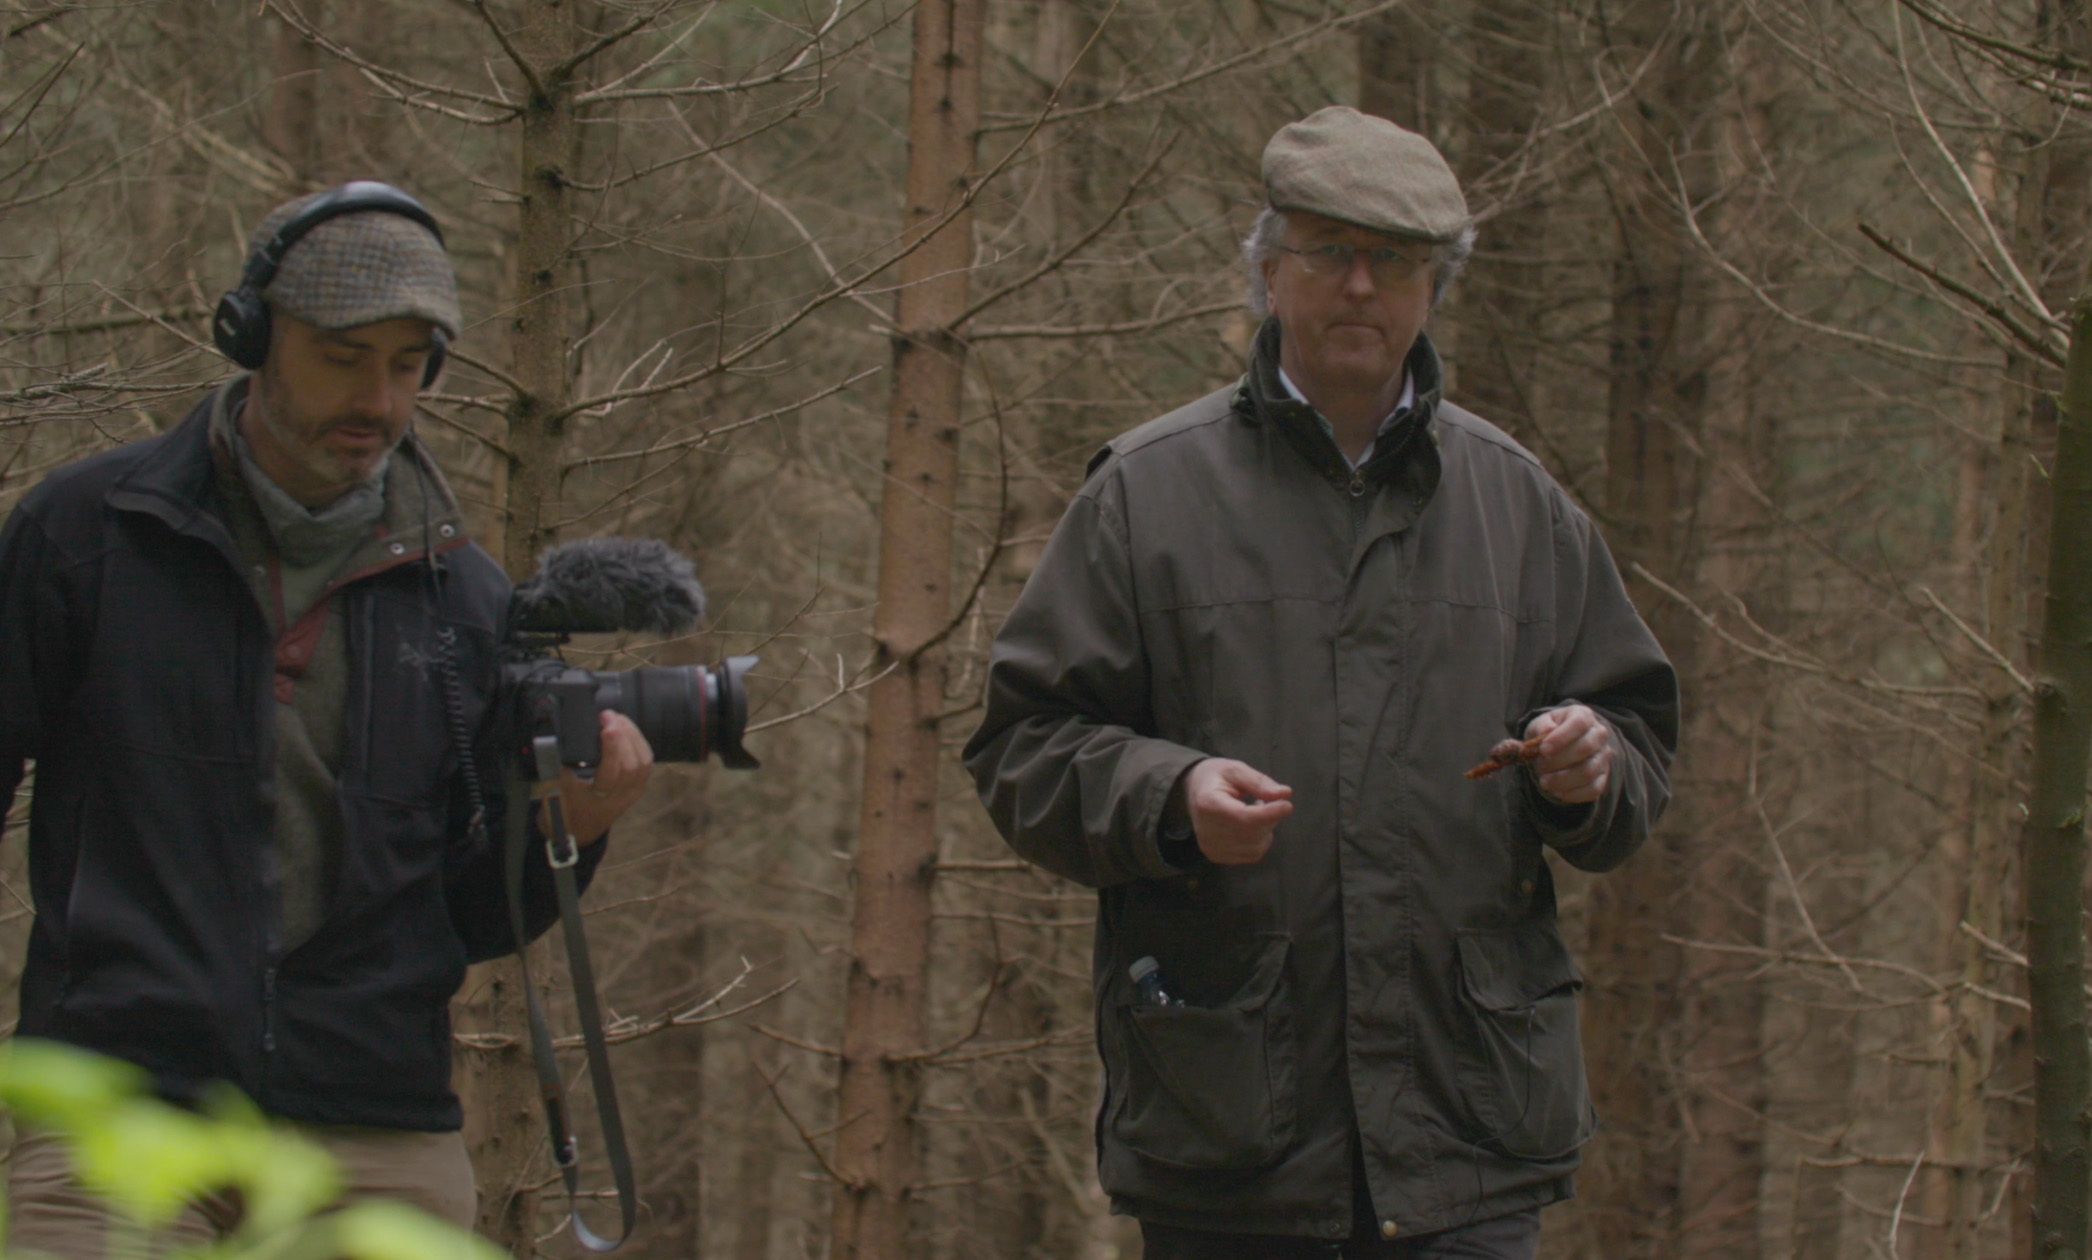
Prioritize Reliable Audio
People often underestimate audio. Poor sound undermines credibility faster than shaky footage. Even short field clips benefit from clear, intentional audio capture.
- Use a small external microphone if possible. Lavaliers and shotgun mics are compact and improve clarity significantly over built-in mics.
- Record natural ambient tracks for each location. These tracks help establish place and can glue shots together in the edit.
- Keep notes of noisy events. If a generator, plane, or vehicle interrupts a take, mark it. You will save time in post when you know which clips need noise reduction.
- When you interview or narrate in the field, ask simple, specific questions to get concise answers. Long monologues are harder to use and harder for viewers to follow.
Good audio keeps viewers engaged. It also helps when you need to add narration later, because you have a base layer of authentic sound to match the visuals.
Use Movement To Reveal Information
Motion can be a storytelling tool, not just a way to add energy. Deliberate movement helps reveal relationships between objects, scale, and process.
- Plan slow tracking shots that follow hands or tools. These shots walk the viewer through procedure steps without text overlays.
- Consider time-lapse sequences to show processes that are otherwise too slow to watch. A plant opening, a tide retreating, or a tent being assembled compresses time and highlights change.
- Employ simple camera moves like pans and tilts to reveal features sequentially. These moves guide attention and can mimic a scientist’s scanning process.
- Stabilize where necessary. Handheld motion feels immediate, but unstable footage can be distracting. Use tripods, gimbals, or steady mounting when precision matters.
Movement also helps show cause and effect. When a mechanism is activated, following its motion visually makes the result intuitive.
Organize Footage With Scientific Rigor
Treat your media like data. Good organization during and after the shoot saves hours in post and preserves the integrity of what you recorded.
- Label clips with clear, consistent filenames that reference date, location, and subject. A brief naming convention prevents confusion later.
- Log metadata immediately. Note the GPS coordinates, weather, participant names, and any experimental conditions. This contextual information makes footage usable in future analyses.
- Keep a shot list and check items off as you capture them. If a required sequence is missing, you can reshoot or capture supplementary material before leaving the field.
- Back up daily. Transfer files to at least two separate storage devices as soon as you can. Losing footage can mean losing irreplaceable observations.
By organizing footage like research data, you respect the scientific process and simplify collaboration with colleagues who may want to reuse your media.
Edit With Clarity And Integrity
Editing is where the story comes together, and scientists have particular obligations when assembling narrative. Editing choices should illuminate, not distort.
- Preserve temporal and spatial relationships that matter to interpretation. Avoid cutting sequences in a way that implies causality where none exists.
- Be explicit about composite or sped-up sequences. Use captions or narration to explain that a clip is a time-lapse or a compilation.
- Keep explanations concise and accurate. A clear sentence is worth more than a long, ornate paragraph when your goal is understanding.
- Use graphics sparingly and only to clarify. Labels or arrows that identify species, instruments, or measurement points can be helpful when they do not oversimplify.
When you share edited work, include a brief production note if the piece compresses time or combines separate takes. That transparency fosters trust with both peers and the public.
Conclusion
Visual storytelling in the field is a craft that sits at the intersection of science and communication. Planning like a researcher and shooting like a storyteller helps you create footage that informs and engages. Focus on narrative beats, contextual composition, clear audio, purposeful motion, and rigorous organization. Edit with honesty, and your visual work will become a durable part of the scientific record.


