Restoring Your Old Films for Your Site
If you’re like most people, you have a collection of films and videos you recorded years ago. You keep them around because their contents are valuable to you. However, you can’t use them since they’re not in a modern format.
Transferring your films to a digital version enables you to preserve your valuable footage, according to those at Just8mm.com. You can then utilize these movies on your site. Keep reading to learn how the restoration process works.
Should You Do It Yourself?
Film restoration is a complex process involving many details. Depending on the quality you require, you might choose to capture and edit the video on your own or pay a specialist to do the work for you.
Software
If you opt to restore your movies at home, you’ll need a software program to improve the video quality after scanning. These applications can repair issues like:
- Stains
- Graininess
- Noise
- Scratches
They can also stabilize a shaky image. Many programs are available for download, each with a slightly different process for restoring your film.
Restoration Companies
If you search online, you’ll find several businesses that offer restoration services. They specialize in cleaning and scanning the movie and optimizing the output video.
Unless you have extensive experience with film and video editing, this is likely the best choice for you. Compare prices and methodologies to select the service that’s ideal for you. It’s also an excellent idea to examine samples of the company’s products before deciding to work with them.
Capture Methods
Whether you decide to transfer your films on your own or pay someone to do it, you need to understand the capture methods available. We’ll take a look at the efficiency of each.
Real-Time Recording
Real-time transfer is the cheapest and lowest-quality method for turning films into digital video. The process is straightforward: You project the movie on a screen and record the image on a modern device.
There are several potential problems with this method:
- A projector typically lights the center more than the edges, leading to a “hot spot” in the middle of the image.
- Differences in frame rates can cause a strobing effect.
- Standard projectors block the image’s edges, causing a loss of up to 20% of the area.
- Distortion can occur if the device that’s projecting or filming isn’t at a right angle to the screen.
- The sound of the projector may interfere with the audio of the new video recorded.
In general, this isn’t the best method because it produces a low-quality final product. If you can afford it, opt for a more advanced transfer technique.
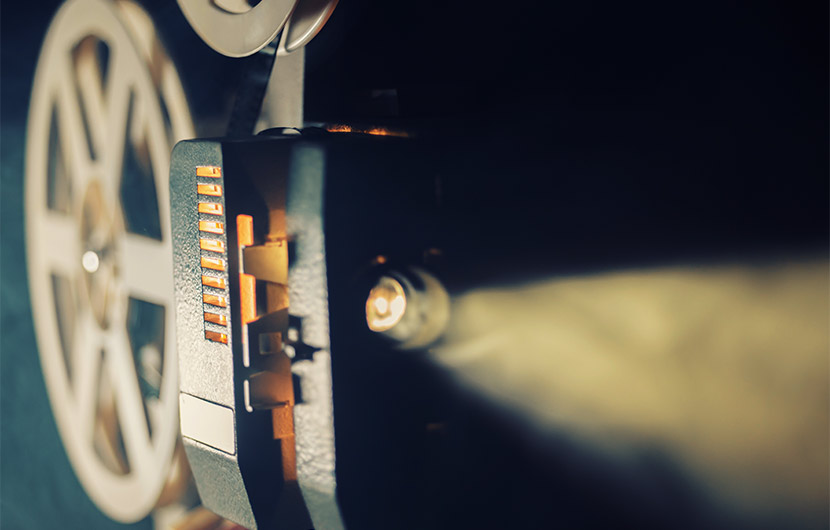
Frame-by-Frame Capture
This approach is a bit more sophisticated than real-time transfer. It uses a modified projector to advance the film one frame at a time.
A sensor captures each image separately and sends the data to a computer. The equipment can typically record about ten frames per second.
This method eliminates the risk of flickering. The capture quality is much better than real-time transfer, and computer software can do additional processing as explained above.
Frame-by-frame capture costs more than real-time, but the results are also significantly better. If you choose this approach, make sure the equipment is of high quality. The team also needs to be competent.
If you’re an avid do-it-yourselfer, you may even consider building a telecine machine for frame-by-frame capture. By searching online, you can find accounts of other people’s experiences with such projects.
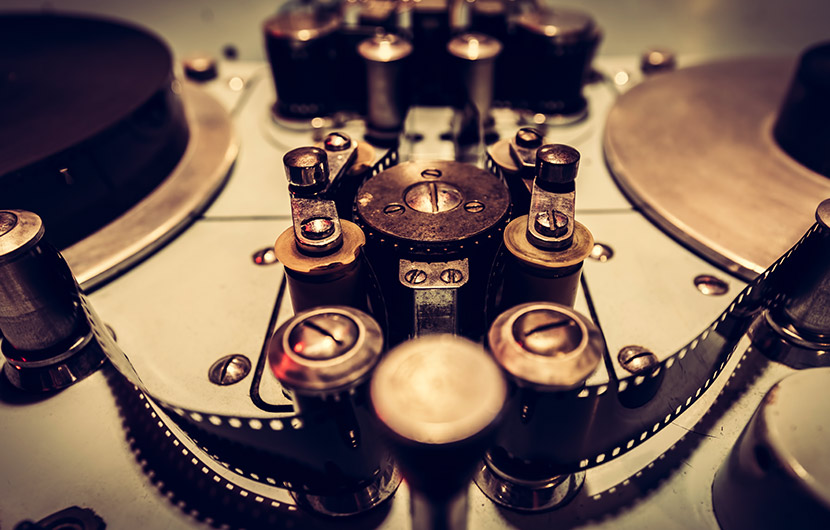
High-End Scanning
Film scanners are machines built for transforming old movies into digital videos. Production companies first used them to transfer professional motion pictures to more modern formats.
These scanners can capture images in greater detail than frame-by-frame telecine machines. They achieve this by using a high-quality sensor that typically scans one row of pixels at a time.
Film scanning machines take longer to process each image, with some requiring over one second per frame. They continuously advance the movie without using sprockets.
High-end scanners provide the following advantages over frame-by-frame capture:
- Higher output quality
- Reliable scans of films with splices, shrinkage, or damaged sprocket holes
- Built-in mechanisms for dust removal
- Superior tolerance for warped film
The main drawback is the cost, which is higher than other methods due to the specialized equipment necessary.
Details to Consider
The restoration process involves several specific activities. You can learn more about each step below.
Cleaning
Old films typically accumulate dust and dirt while in storage. For the best transfer results, you need to clean the film before scanning.
There are two options you may be able to perform at home:
- Passing the film between soft brushes to try to remove dust
- Using sponges with a mild cleaning solution
Physical Repair
Hollywood movie restoration teams rely on a scratch repair technique called a wet-gate scanner. It puts the film through a chemical bath using a substance with the same refraction index as the plastic. The liquid fills in surface scratches, so they aren’t visible during scanning.
Image Capture
As explained above, there are several different transfer methods. For the best quality output, the ideal choice is high-end scanning.
Digital Fixes
In this phase, technicians use software to improve image quality. For Hollywood film restorations, professionals dedicate hours to repairing tears and deep scratches.
Movie restoration experts even have ways to substitute missing frames. However, this level of sophistication isn’t usually available for amateur films.
Color Correction
A film’s color tends to degrade over time, which is why restoration services typically have tools to re-establish the original balance. The objective is to make the digital version look as similar as possible to the film at the time of recording.
This process starts during scanning when an automatic optical system stabilizes light and color. If problems remain, colorists can make corrections manually.
The Takeaway
If you have old films at home and want to use them on your site, you can restore them by converting them to digital media. You may choose to perform a low-quality transformation on your own. However, if you need professional-looking results, it’s best to find a service that uses an advanced film scanner.
The restoration process is complex and involves cleaning, physical repair, image capture, digital fixes, and color correction. A specialized company with high-end equipment can provide excellent results. Now that you understand the methods available, you can choose the best way to restore your films for use on your site.
You might also like…
If you enjoyed this article about restoring old film, you might like this short we made on how to color old photographs:


